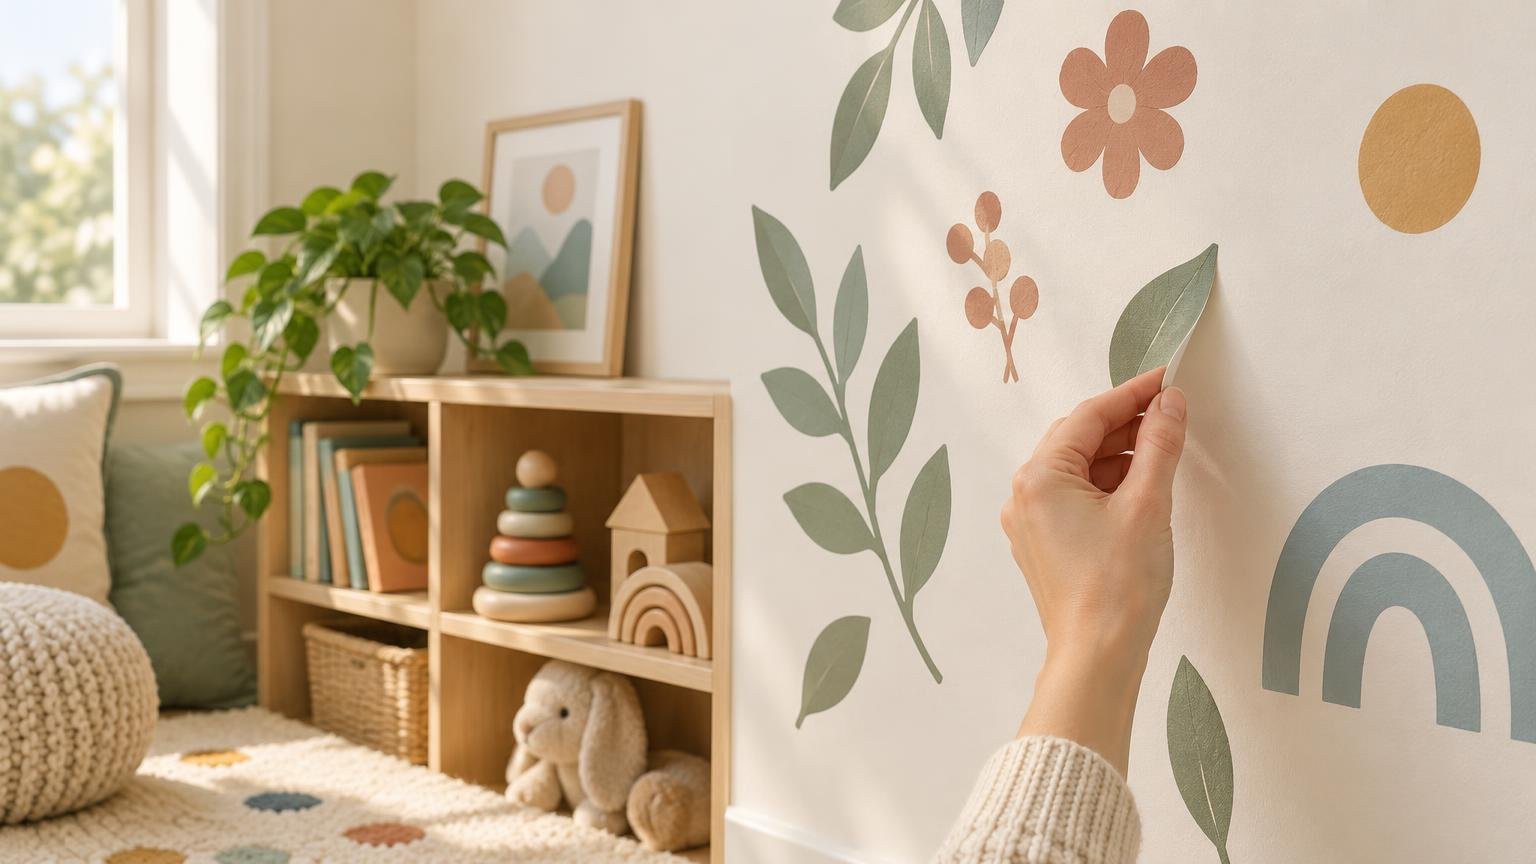
To remove wall decals, first identify the product, adhesive type and wall surface. Then inspect the paint, start at a corner and peel slowly while watching the wall. Do not assume that a decal labelled removable will come away cleanly from every painted surface.
Removal results can change with the film and adhesive, the condition of the substrate, the decal’s age and its exposure to heat, ultraviolet light and humidity. The 3M graphic-removal bulletin also warns that removal may damage paint, coatings or the underlying surface. That makes a cautious, product-specific approach more useful than any single peeling trick.
Check what is attached to the wall
Look for the original packaging, order details or manufacturer’s instructions. You need to know whether the decoration is a temporary wall decal, a permanent-adhesive sticker, peel-and-stick wallpaper or another product. These categories can look similar while using substantially different adhesives.
The word removable is not a guarantee of damage-free removal, and it does not necessarily mean the decal is reusable. If you hope to preserve the design, first review the difference between removable, reusable and repositionable wall stickers. A decal designed to leave one wall may still stretch, crease or lose adhesion during the process.
If you cannot identify the product, treat the adhesive as unknown. Begin with the least aggressive method, work on a small section and stop if the coating, paint or wall surface begins to change.
Assess the wall before lifting a corner
A sound, fully cured painted wall presents a different removal task from unpainted drywall, recently repaired plaster or a chalking finish. 3M identifies aged, damaged, repaired, unsound, uncured, improperly bonded, chalking and oxidized finishes as higher-risk surfaces. It also notes that unpainted wallboard is not designed for graphic removal and may be damaged.
Run your eyes and fingertips around the decal’s edges. Look for cracks, bubbles, flaking paint, soft repairs or places where the topcoat already seems loose. If the wall is textured, inconsistent contact may have created alternating firmly bonded and loose areas. The same texture that complicated installation can also make the decal tear during removal; see the guide to using wall stickers on textured walls for more surface context.
Remember that dry paint may not be cured paint
Paint can feel dry before it has finished curing. Benjamin Moore’s paint guidance says acrylic and latex paint commonly need about two to three weeks to cure. WallPops tells customers to wait three to four weeks after painting before applying its products, while 3M warns that insufficient paint cure can make later removal difficult and contribute to substrate damage.
Those timelines are not universal promises for every paint, room or decal. If a sticker was installed soon after painting, proceed particularly slowly. A small trial at one corner can reveal an immediate problem, but it cannot prove that the entire wall will behave the same way.
Use a controlled peeling process
Once you have checked the instructions and wall condition, use a gradual process rather than pulling the whole design away in one motion.
- Choose an edge or corner that is easy to see and reach. Lift only enough material to create a small tab.
- Pull slowly while keeping your attention on the boundary between the adhesive and paint. Pause if paint lifts, the wall surface powders or the decal repeatedly tears.
- Try folding the decal back toward itself rather than pulling it straight out from the wall, but adjust if the product instructions specify another angle. For certain removable graphic films, 3M says a slow pull at a high angle can preserve film integrity and reduce residue; it also says the appropriate angle varies by film.
- Keep the pull steady and work across the decal in small sections. Large designs may be easier to manage if another adult supports the loose material without adding force.
- Stop and reassess instead of increasing force when the adhesive resists. Strong resistance may indicate a permanent adhesive, an aged bond, unsuitable temperature or a vulnerable wall finish.
Use warmth only when the instructions allow it
Cold film can become brittle and break into pieces. 3M recommends removal above 10°C or 50°F where possible and says added heat may help, while warning that excessive heat can damage the substrate. WallPops specifically suggests a hair dryer on a low setting when one of its wall decals has stubborn adhesive.
That WallPops method is a product-specific instruction, not permission to heat every decal or painted wall. If the manufacturer permits warmth, apply it gently to a small working area and keep the tool moving. Do not treat more heat as the answer when the paint itself appears to be softening, stretching or lifting.
Handle adhesive residue separately
After the film is off, inspect the wall before cleaning it. WallPops says minor residue from its adhesive film can be cleaned with warm soapy water or a mild adhesive remover. That advice applies to its products; it does not establish that the same cleaner is appropriate for every adhesive and paint combination.
Start with the cleaning method named by the decal manufacturer and check the paint maker’s care instructions. Use minimal moisture and pressure. Before applying an adhesive remover, test it in an inconspicuous place and allow the spot to dry so you can inspect the finish. A successful patch reduces uncertainty but cannot guarantee an identical result across repaired, faded or unevenly painted areas.
Decide whether the decal can be moved
If the design comes off intact, do not immediately press it onto another wall. Dust, stretched edges and lost adhesive can affect the second installation, and the new surface may differ from the old one. Check the product’s reuse instructions and assess the destination with the same care. The guide to moving wall stickers to another wall explains the additional checks.
Prepare for the next room design
Once the wall is clean and stable, allow any damp area to dry and inspect the finish in ordinary room light. Repairing or repainting may be more sensible than covering lifted paint with another decal.
If you plan to replace the old scene with custom-printed pieces, customstickers.com offers custom stickers, materials and related printing options. Confirm that the exact product is intended for your wall surface and review its adhesive and removal instructions before ordering; a general-purpose sticker is not automatically suitable as temporary wall decor.
The safest practical rule is simple: let the wall and adhesive determine the method. Identify the product, inspect the paint, peel slowly and stop when the surface shows distress. A little patience during removal is easier to manage than an expanding patch of lifted paint.
Frequently Asked Questions
What is the safest way to start removing a wall decal?
Find the product instructions, inspect the wall, then lift a small corner and peel slowly. Stop if the paint, coating or wall surface begins to change.
Do removable wall decals always come off without damaging paint?
No. Results depend on the adhesive, film, wall condition, decal age and environmental exposure. Paint, coatings or the underlying surface may still be damaged.
Should I pull a wall decal straight away from the wall?
Not automatically. For certain removable films, 3M recommends a slow pull at a high angle, folding the film back toward itself, but the suitable angle varies by product.
Can I use a hair dryer to loosen a wall decal?
Only when the manufacturer permits it. WallPops suggests a hair dryer on a low setting for stubborn adhesive on its decals, while 3M warns that excessive heat can damage the substrate.
Does temperature affect decal removal?
Yes. Cold film can become brittle and break. 3M advises removal above 10°C or 50°F where possible, but that does not make added heat suitable for every decal or wall.
Why is a recently painted wall more vulnerable?
Paint may feel dry before it has cured. Benjamin Moore says acrylic and latex paint commonly take about two to three weeks to cure, while product-specific waiting periods may be longer.
How should I remove adhesive residue from a painted wall?
Use the cleaning method specified by the decal manufacturer and check the paint maker’s care guidance. WallPops recommends warm soapy water or a mild adhesive remover for minor residue from its adhesive film, but that advice is product-specific.
Can a test patch guarantee that the rest of the wall is safe?
No. A small test can reveal an immediate problem, but repaired, faded or unevenly painted areas may respond differently.
Can I reuse a decal after removing it?
Only if the product is designed for reuse and remains intact. Stretching, creases, dust and lost adhesion can affect a second installation, and the new wall may behave differently.