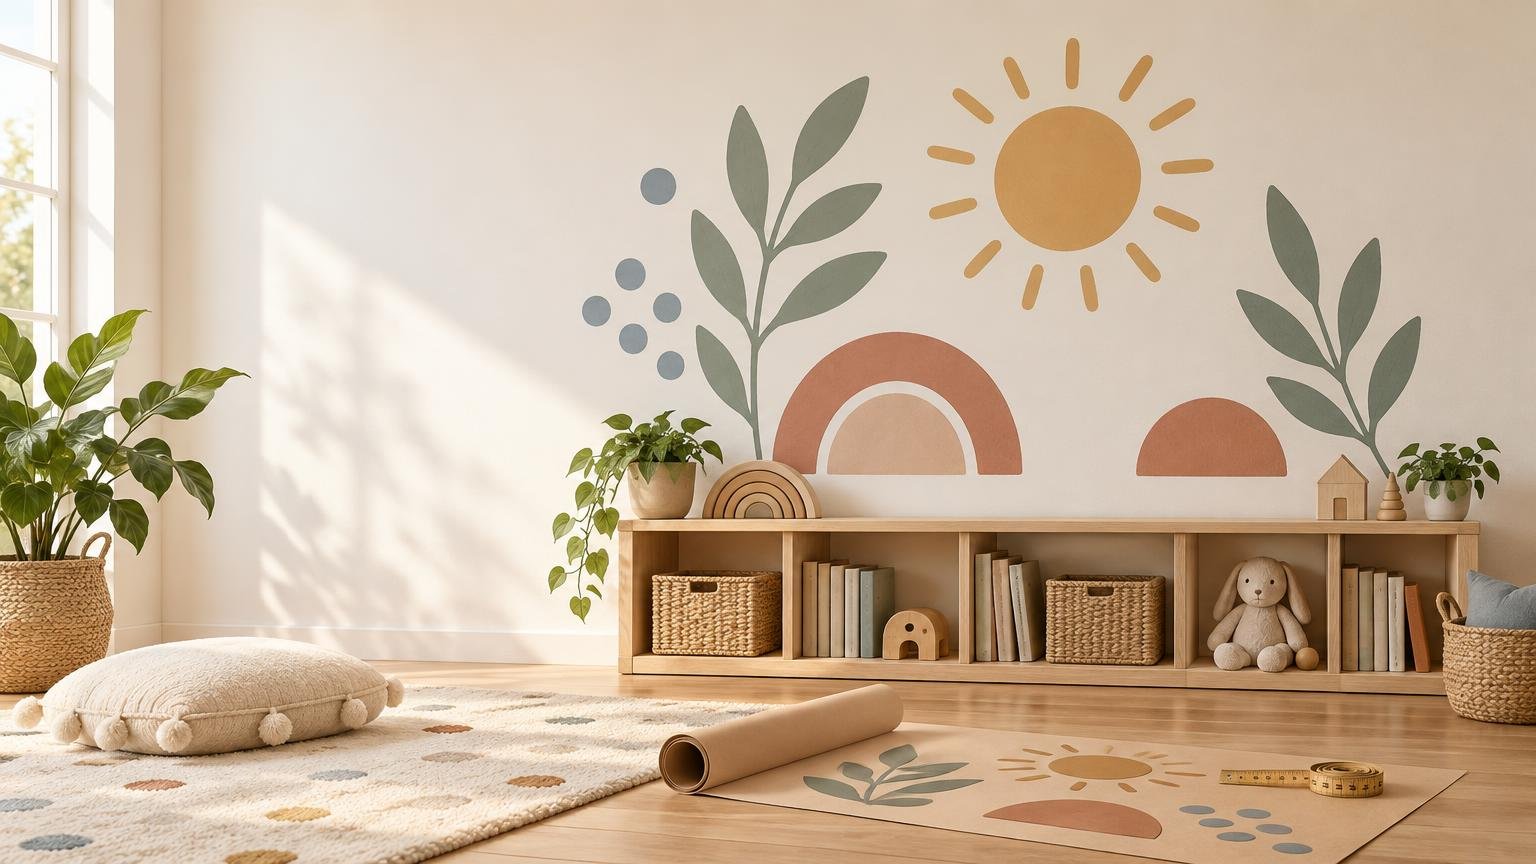
The right wall sticker size depends on the usable wall area, not simply whether the room feels small or large. Measure around furniture and fixed features, find the product’s installed dimensions, and preview that footprint on the wall. A modest sticker can look intentional on a large wall when it belongs to a clear focal area, while an oversized design can overwhelm a small room or disappear behind furniture.
The most important detail is what a seller’s measurements actually describe. Packaging may show the dimensions of a sheet, an individual decal, a completed arrangement or the total area covered. Those figures are not interchangeable.
Measure the usable wall rather than the whole wall
Start by measuring the wall’s full width and height. Then mark the parts that will not contribute to the design: wardrobes, doors, windows, radiators, switches, shelving and tall furniture. If the sticker will sit above a bed, dresser or toy unit, measure from the furniture top to the ceiling as well as across the visible space.
This smaller rectangle is your usable wall area. It gives you a more realistic basis for choosing a sticker than the room’s overall dimensions.
- Measure the full wall width and height.
- Sketch the wall and add doors, windows, outlets, switches and permanent fittings.
- Add the furniture that will remain in place, including its height.
- Outline the uninterrupted area where the entire design can be seen.
- Record the maximum available width and height, then allow some open wall around the composition.
Do not assume every edge of the available area needs to be filled. Open wall around a design helps define it as a focal point and leaves flexibility if furniture moves later.
Decode the dimensions in the product listing
A multi-piece wall sticker kit may arrive on several compact sheets but spread across a much larger area after installation. One RoomMates set listed by WallPops, for example, is supplied on four sheets measuring 9 by 17.975 inches, while its stated assembled size is 19.5 by 34.24 inches. Individual decal sizes vary within the set. Another modular tree kit is listed as 47 pieces on two sheets and 50 by 36 inches when assembled.
Other listings may provide only sheet dimensions or total coverage. A 22-piece nursery kit is described as arriving on four 17.25-by-9.75-inch sheets without a stated arrangement footprint, while a plank-style product lists both piece count and 7.44 square feet of coverage.
Before ordering, identify which of these measurements you have:
- Sheet size: the dimensions of the backing sheet, not necessarily the finished scene.
- Individual-piece size: useful for placing separate stars, leaves, dots or characters.
- Assembled size: the maker’s suggested width and height for the completed design.
- Coverage: the total area the material can cover, which may not reveal the exact shape.
- Piece count: useful for judging density, but not enough to predict the finished footprint.
If an assembled size is not published, sketch a likely arrangement from the individual-piece measurements. For a custom motif, a provider offering custom vinyl stickers and artwork preparation may be relevant, but confirm that the exact material and adhesive are intended for your painted wall rather than assuming any general-purpose sticker will work.
Choosing a size for a small wall
On a narrow wall, choose one visual job for the sticker. It might frame a reading chair, float above a low dresser or create a small scene beside a bed. A compact central motif or a loose group of smaller pieces is usually easier to fit around switches and furniture than a wide, rigid composition.
Use the dimensions of the visible wall section to set the limit. Suppose an assumed wall section is 42 inches wide, but a light switch and door trim reduce the uninterrupted width to 30 inches. A design advertised as 36 inches wide is not a comfortable fit merely because it is narrower than the full wall. The 30-inch usable area is the relevant measurement.
Scattered decals can make better use of an awkward space, but they still need a planned boundary. Decide on the total cluster width and height before installation so the pieces do not gradually drift into trim, shelving or another decorative zone.
Choosing a size for a large wall
A large wall does not automatically require one enormous decal. First decide whether the wall needs a single focal image, a horizontal scene or several connected clusters. Furniture can anchor the composition: a design above a bed might relate to the furniture width, while a playroom scene may extend across a broad open section at a lower level.
For a large blank wall, check the design from the normal viewing distance. Fine details and widely separated tiny pieces may lose coherence from across the room. A stronger central form, repeated medium-size elements or a clearly bounded landscape can give the eye somewhere to settle.
If you are building a woodland arrangement, the same principle applies: limit the visual story and preserve open wall rather than filling every gap. Our guide to woodland wall sticker layouts without overcrowding offers a focused example.
Preview the real footprint before ordering
Use painter’s tape or removable paper templates to mark the proposed outer boundary at full scale. For a 50-by-36-inch assembled design, outline a rectangle of that size rather than holding up one delivery sheet. For scattered elements, make paper shapes for the largest pieces and lightly mark the limits of the whole cluster.
Check the wall before finalizing the plan
Size planning and surface planning belong together. Texture, contamination, fresh paint and weak paint layers can affect installation. In its professional wall-graphics guidance, 3M recommends checking wall condition, cleaning before application and testing each film-and-wall combination. It also says paint should cure according to the paint manufacturer’s instructions.
Dry paint is not necessarily fully cured. Sherwin-Williams explains the distinction between drying and curing and gives general curing ranges of two to three weeks for acrylic and latex paints and about five to 15 days for oil-based paints, while noting that the applicable product-label directions control.
Follow the wall sticker manufacturer’s instructions as well. Some products have their own waiting periods and surface restrictions. If your wall has a noticeable texture, review the practical checks in our guide to using wall stickers on textured walls before choosing a large, continuous design.
A test patch can reveal an immediate adhesion problem in that spot, but it cannot guarantee identical performance across the wall or predict every removal outcome. 3M cautions that even graphics described as changeable can damage wallboard in some circumstances. Do not treat “removable,” “repositionable” and “reusable” as synonyms; check the exact product claim and instructions.
Make the installed footprint your deciding measurement
The best size is the one that fits the visible wall area and the intended composition. Measure around the real room, distinguish sheet size from assembled size, and preview the outer boundary at full scale. On a small wall, give one compact idea enough breathing room. On a large wall, build a coherent focal area instead of scattering pieces simply to occupy space. That approach produces a layout that feels deliberate now and remains adaptable as the room changes.