Category: Installation & Removal

  • How to Remove Wall Decals: Start With the Surface and Adhesive

    How to Remove Wall Decals: Start With the Surface and Adhesive

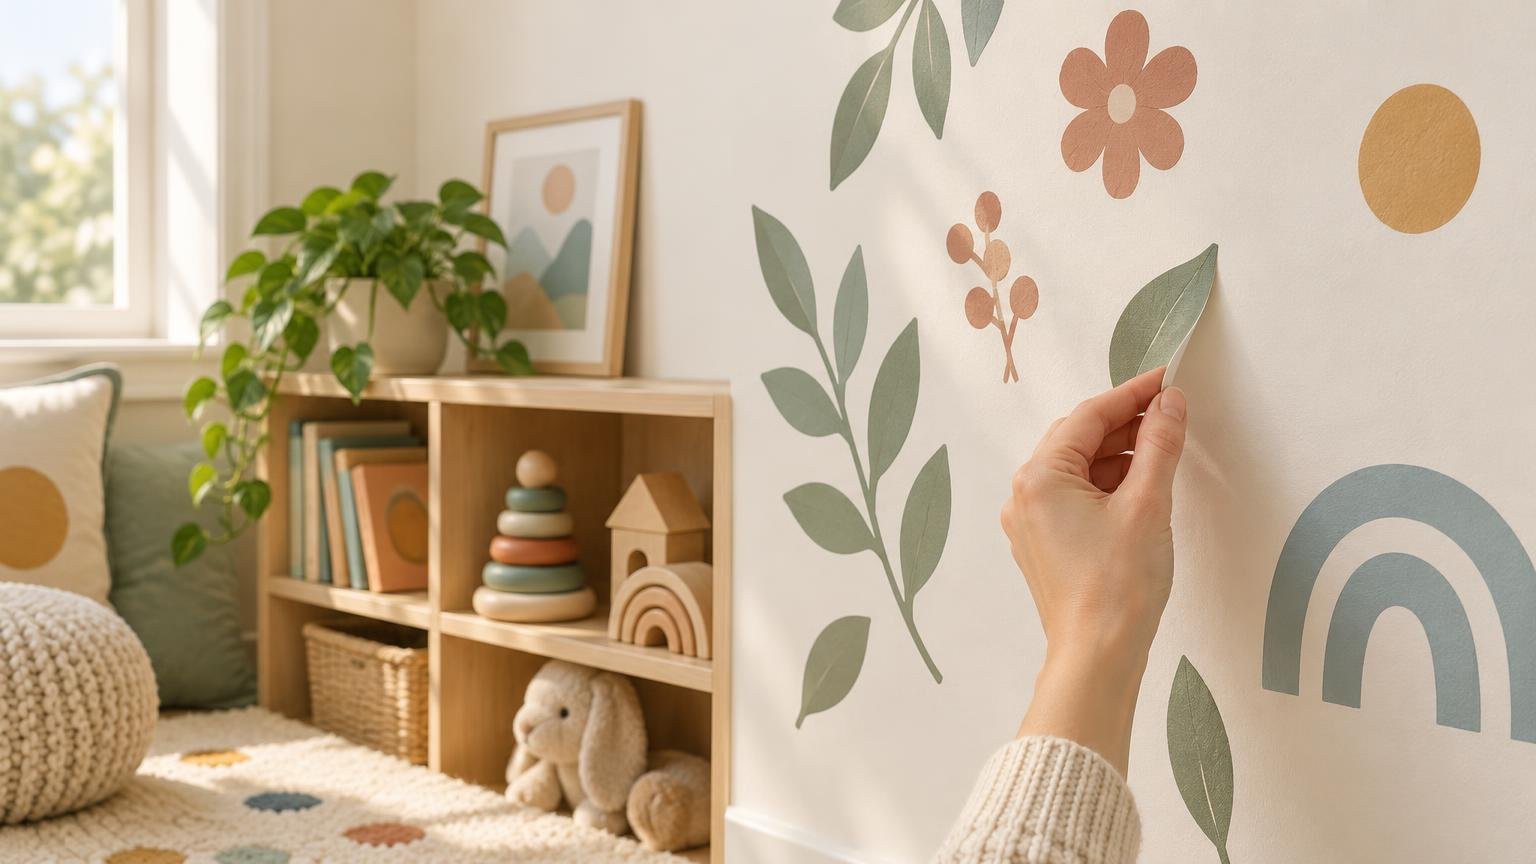
    To remove wall decals, first identify the product, adhesive type and wall surface. Then inspect the paint, start at a corner and peel slowly while watching the wall. Do not assume that a decal labelled removable will come away cleanly from every painted surface.

    Removal results can change with the film and adhesive, the condition of the substrate, the decal’s age and its exposure to heat, ultraviolet light and humidity. The 3M graphic-removal bulletin also warns that removal may damage paint, coatings or the underlying surface. That makes a cautious, product-specific approach more useful than any single peeling trick.

    Check what is attached to the wall

    Look for the original packaging, order details or manufacturer’s instructions. You need to know whether the decoration is a temporary wall decal, a permanent-adhesive sticker, peel-and-stick wallpaper or another product. These categories can look similar while using substantially different adhesives.

    The word removable is not a guarantee of damage-free removal, and it does not necessarily mean the decal is reusable. If you hope to preserve the design, first review the difference between removable, reusable and repositionable wall stickers. A decal designed to leave one wall may still stretch, crease or lose adhesion during the process.

    If you cannot identify the product, treat the adhesive as unknown. Begin with the least aggressive method, work on a small section and stop if the coating, paint or wall surface begins to change.

    Assess the wall before lifting a corner

    A sound, fully cured painted wall presents a different removal task from unpainted drywall, recently repaired plaster or a chalking finish. 3M identifies aged, damaged, repaired, unsound, uncured, improperly bonded, chalking and oxidized finishes as higher-risk surfaces. It also notes that unpainted wallboard is not designed for graphic removal and may be damaged.

    Run your eyes and fingertips around the decal’s edges. Look for cracks, bubbles, flaking paint, soft repairs or places where the topcoat already seems loose. If the wall is textured, inconsistent contact may have created alternating firmly bonded and loose areas. The same texture that complicated installation can also make the decal tear during removal; see the guide to using wall stickers on textured walls for more surface context.

    Remember that dry paint may not be cured paint

    Paint can feel dry before it has finished curing. Benjamin Moore’s paint guidance says acrylic and latex paint commonly need about two to three weeks to cure. WallPops tells customers to wait three to four weeks after painting before applying its products, while 3M warns that insufficient paint cure can make later removal difficult and contribute to substrate damage.

    Those timelines are not universal promises for every paint, room or decal. If a sticker was installed soon after painting, proceed particularly slowly. A small trial at one corner can reveal an immediate problem, but it cannot prove that the entire wall will behave the same way.

    Use a controlled peeling process

    Once you have checked the instructions and wall condition, use a gradual process rather than pulling the whole design away in one motion.

    1. Choose an edge or corner that is easy to see and reach. Lift only enough material to create a small tab.
    2. Pull slowly while keeping your attention on the boundary between the adhesive and paint. Pause if paint lifts, the wall surface powders or the decal repeatedly tears.
    3. Try folding the decal back toward itself rather than pulling it straight out from the wall, but adjust if the product instructions specify another angle. For certain removable graphic films, 3M says a slow pull at a high angle can preserve film integrity and reduce residue; it also says the appropriate angle varies by film.
    4. Keep the pull steady and work across the decal in small sections. Large designs may be easier to manage if another adult supports the loose material without adding force.
    5. Stop and reassess instead of increasing force when the adhesive resists. Strong resistance may indicate a permanent adhesive, an aged bond, unsuitable temperature or a vulnerable wall finish.

    Use warmth only when the instructions allow it

    Cold film can become brittle and break into pieces. 3M recommends removal above 10°C or 50°F where possible and says added heat may help, while warning that excessive heat can damage the substrate. WallPops specifically suggests a hair dryer on a low setting when one of its wall decals has stubborn adhesive.

    That WallPops method is a product-specific instruction, not permission to heat every decal or painted wall. If the manufacturer permits warmth, apply it gently to a small working area and keep the tool moving. Do not treat more heat as the answer when the paint itself appears to be softening, stretching or lifting.

    Handle adhesive residue separately

    After the film is off, inspect the wall before cleaning it. WallPops says minor residue from its adhesive film can be cleaned with warm soapy water or a mild adhesive remover. That advice applies to its products; it does not establish that the same cleaner is appropriate for every adhesive and paint combination.

    Start with the cleaning method named by the decal manufacturer and check the paint maker’s care instructions. Use minimal moisture and pressure. Before applying an adhesive remover, test it in an inconspicuous place and allow the spot to dry so you can inspect the finish. A successful patch reduces uncertainty but cannot guarantee an identical result across repaired, faded or unevenly painted areas.

    Decide whether the decal can be moved

    If the design comes off intact, do not immediately press it onto another wall. Dust, stretched edges and lost adhesive can affect the second installation, and the new surface may differ from the old one. Check the product’s reuse instructions and assess the destination with the same care. The guide to moving wall stickers to another wall explains the additional checks.

    Prepare for the next room design

    Once the wall is clean and stable, allow any damp area to dry and inspect the finish in ordinary room light. Repairing or repainting may be more sensible than covering lifted paint with another decal.

    If you plan to replace the old scene with custom-printed pieces, customstickers.com offers custom stickers, materials and related printing options. Confirm that the exact product is intended for your wall surface and review its adhesive and removal instructions before ordering; a general-purpose sticker is not automatically suitable as temporary wall decor.

    The safest practical rule is simple: let the wall and adhesive determine the method. Identify the product, inspect the paint, peel slowly and stop when the surface shows distress. A little patience during removal is easier to manage than an expanding patch of lifted paint.

    Frequently Asked Questions

    What is the safest way to start removing a wall decal?

    Find the product instructions, inspect the wall, then lift a small corner and peel slowly. Stop if the paint, coating or wall surface begins to change.

    Do removable wall decals always come off without damaging paint?

    No. Results depend on the adhesive, film, wall condition, decal age and environmental exposure. Paint, coatings or the underlying surface may still be damaged.

    Should I pull a wall decal straight away from the wall?

    Not automatically. For certain removable films, 3M recommends a slow pull at a high angle, folding the film back toward itself, but the suitable angle varies by product.

    Can I use a hair dryer to loosen a wall decal?

    Only when the manufacturer permits it. WallPops suggests a hair dryer on a low setting for stubborn adhesive on its decals, while 3M warns that excessive heat can damage the substrate.

    Does temperature affect decal removal?

    Yes. Cold film can become brittle and break. 3M advises removal above 10°C or 50°F where possible, but that does not make added heat suitable for every decal or wall.

    Why is a recently painted wall more vulnerable?

    Paint may feel dry before it has cured. Benjamin Moore says acrylic and latex paint commonly take about two to three weeks to cure, while product-specific waiting periods may be longer.

    How should I remove adhesive residue from a painted wall?

    Use the cleaning method specified by the decal manufacturer and check the paint maker’s care guidance. WallPops recommends warm soapy water or a mild adhesive remover for minor residue from its adhesive film, but that advice is product-specific.

    Can a test patch guarantee that the rest of the wall is safe?

    No. A small test can reveal an immediate problem, but repaired, faded or unevenly painted areas may respond differently.

    Can I reuse a decal after removing it?

    Only if the product is designed for reuse and remains intact. Stretching, creases, dust and lost adhesion can affect a second installation, and the new wall may behave differently.
    References

    1. Removal
    2. Storage, Handling, Maintenance and Removal of Films and Sheetings
    3. How to Make Paint Dry Faster | Benjamin Moore
    4. Peel and Stick FAQs: Install, Removal & Care | WallPops

  • Can You Move Wall Stickers to Another Wall?

    Can You Move Wall Stickers to Another Wall?

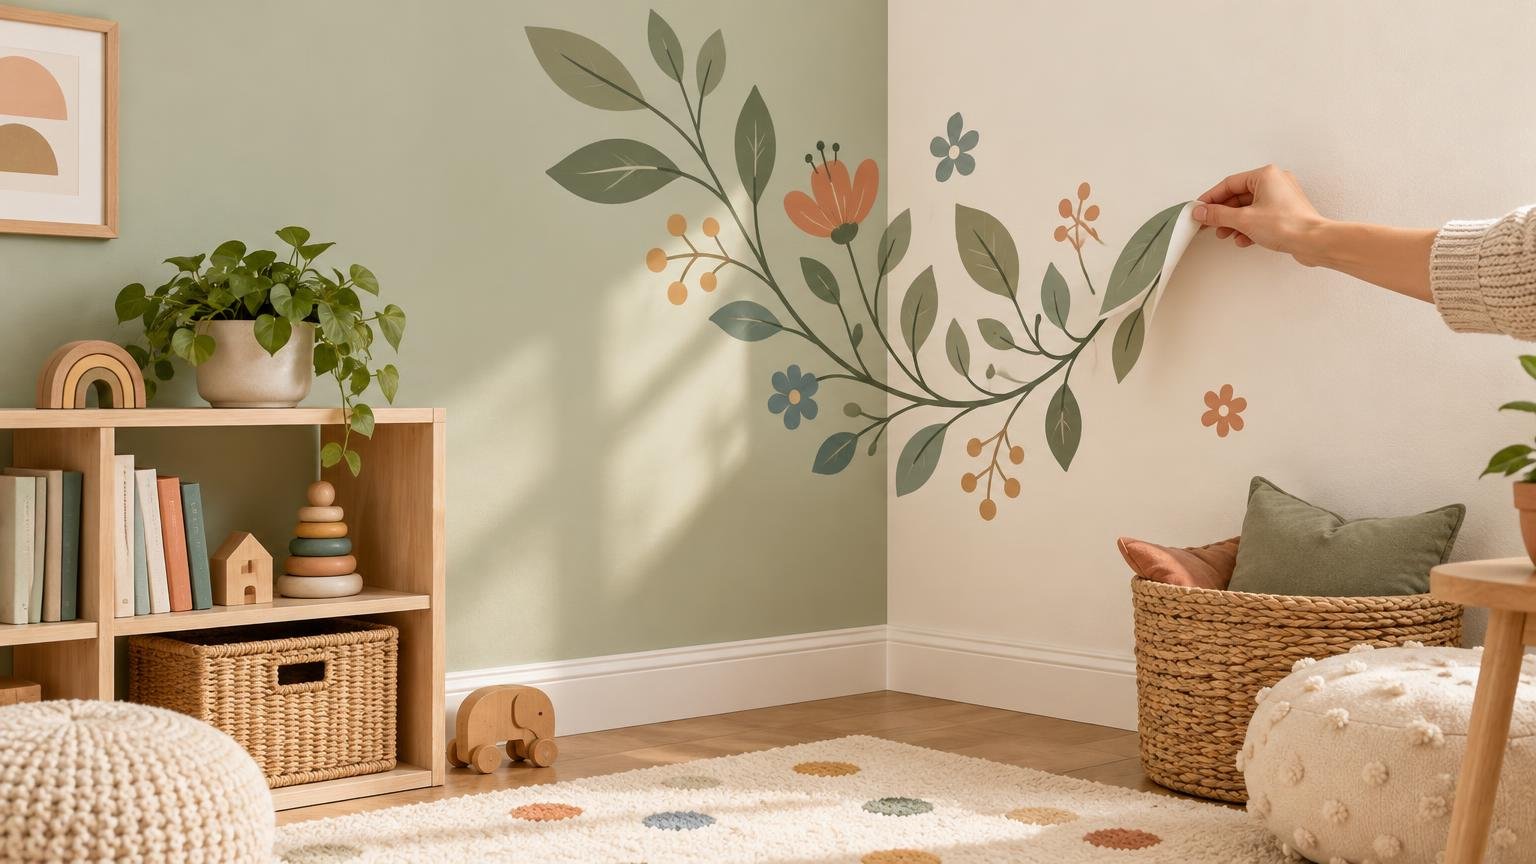
    You can sometimes move wall stickers to another wall, but only when the product is designed to be reused and remains in suitable condition after removal. A sticker described as removable may come off its original wall without being capable of a second successful installation. Before peeling anything, check the manufacturer’s instructions, the age and condition of the paint, the destination surface and the decal itself.

    When reuse is not explicitly documented, replacement is usually the more predictable choice. This is especially true for large murals, intricate lettering and decals that have already started curling, stretching or collecting dust. No transfer method can guarantee clean removal, intact paint or reliable adhesion on a second wall.

    Removable and reusable are not the same claim

    The most important distinction is between removal and reuse. Removable describes what a product is intended to do when taken off a suitable surface. Reusable indicates that it can be installed again after removal. Repositionable may refer only to adjustments during initial installation, not to moving the sticker after months or years on a wall.

    Those terms are not interchangeable, so look for instructions that specifically discuss reapplication, storage or transfer to a new location. Our guide to reusable versus removable wall stickers explains what each label can—and cannot—tell you.

    ORAFOL provides a useful material-specific example. The company describes ORACAL 631 as removable from many smooth, sealed surfaces, but its support guidance warns that a graphic can become distorted during removal and may not adhere well when reapplied elsewhere. That evidence applies to ORACAL 631; it does not prove that every wall sticker made from vinyl or another film will behave the same way.

    Check these factors before you peel

    Start by identifying the exact product if possible. Find the original order confirmation, packaging or manufacturer page and look for explicit answers to three questions: Is the sticker reusable after full removal? Does the maker specify a removal technique? Is backing paper, transfer film or another material required for storage and reapplication?

    If the instructions discuss only easy removal, do not assume the sticker will work twice. If no product information remains, treat reuse as uncertain and weigh the value of the decal against the possible consequences for both walls.

    Inspect the existing sticker

    Look closely at edges, narrow points and separate pieces. A decal that is brittle, cracked, stretched, heavily curled or already lifting is a poor candidate for transfer. Dust, fibers and skin oils on the adhesive side can also reduce the contact available on the next wall.

    Size and design matter as well. A small cloud, star or simple animal silhouette is easier to support evenly than a broad mural panel or a line of delicate lettering. Large graphics can fold onto themselves, while long narrow elements can distort if different sections are pulled at different rates.

    Assess the destination wall

    The second wall should meet the product maker’s surface requirements. Check its texture, coating, cleanliness and condition rather than assuming two painted walls are equivalent. Raised texture reduces the continuous surface area available to the adhesive; see our guide to using wall stickers on textured walls before attempting a transfer to an uneven finish.

    Avoid applying a decal over loose, flaking, chalky, damp or visibly dirty paint. Surface preparation must follow the decal manufacturer’s directions because cleaning products and application methods vary. A small compatibility test can reveal an immediate problem in one area, but it cannot guarantee long-term adhesion, clean removal or successful reuse.

    Consider when the wall was painted

    Paint that feels dry is not necessarily fully cured. Benjamin Moore distinguishes dry-to-the-touch paint from fully cured paint and gives approximately 30 days as general full-cure guidance for most wall paint. That is paint guidance, not a universal decal waiting period, so the relevant paint and sticker instructions should still control your timing. Benjamin Moore’s explanation of paint curing provides further context.

    The April 2024 ORACAL 631 technical data sheet likewise says newly painted or lacquered surfaces should be completely cured before application. It calls for a clean surface free of dust, grease and other contamination, and flags potentially reduced adhesion on low- and zero-VOC paints. These are requirements for that specific film, not universal specifications for every wall sticker. Read the ORACAL 631 technical data sheet for the full material guidance.

    Sherwin-Williams takes a similar preparation-first approach for wallcoverings, advising that walls be thoroughly cured, dry and primed and that old adhesive be removed. Although wallcovering guidance is not a substitute for a decal maker’s instructions, it reinforces why a recently painted or poorly prepared destination wall deserves caution.

    How to attempt a move when reuse is supported

    Proceed only if the manufacturer expressly supports reuse and your walls and decal meet its stated conditions. Keep the product instructions beside you, and prepare any original backing sheet or specified transfer material before lifting the first edge.

    1. Clear a clean work area and prepare the new wall according to the manufacturer’s directions. Keep dust, fabric and loose paper away from the adhesive side.
    2. Begin at an edge identified by the manufacturer, then peel slowly. Support the released section instead of allowing the decal to hang under its own weight.
    3. Keep your pull controlled and even. Do not stretch the graphic in an effort to release a stubborn point.
    4. Pause if the paint begins lifting, the decal stretches or separate parts move out of alignment. Continuing can worsen damage to the wall or graphic.
    5. Place the removed decal on the original backing or approved transfer material if the instructions require it. Do not improvise with paper or film that could bond to or contaminate the adhesive.
    6. Apply it to the destination wall using the maker’s installation sequence. Avoid repeated lifting and pressing unless the product is specifically described as repositionable during application.

    Stopping is a valid outcome. If removal reveals weak paint, significant distortion or contamination, replacing the decal may be less troublesome than forcing the transfer. A partially removed mural can sometimes be handled piece by piece, but only if its construction and instructions allow that approach.

    When replacement is the better decision

    Choose replacement instead of transfer when the manufacturer does not publish reuse instructions, either wall has uncertain paint condition, the destination is substantially more textured, or the decal is large and difficult to support. Replacement is also sensible when one damaged piece would spoil the entire composition.

    You do not have to recreate the original design exactly. Photograph the old arrangement before removal, measure its overall footprint and note the spacing between major elements. You can then use those details as a layout reference for a fresh set. If commissioning custom stickers for a new composition, select a product explicitly intended for the destination surface rather than assuming a general-purpose sticker is suitable for painted walls.

    For a modular design, replacing only one or two pieces may be practical if matching items remain available. If they do not, turn the difference into part of the room’s design: add a contrasting moon to a group of stars, place a new tree beside existing woodland shapes, or use a small name plaque to balance an incomplete cluster. These are styling ideas, not evidence that an installed product can be reused.

    Design the next arrangement to be easier to change

    A room that will evolve with a child benefits from separate motifs rather than one tightly interlocked scene. A few sky shapes above a reading nook can be refreshed independently, while a row of leaves or abstract dots can expand as furniture moves. Separate elements also let you retire a damaged piece without dismantling the entire design.

    In a shared bedroom, use decals to define loose visual zones rather than attaching the whole scheme to one bed position. For example, each side might have a different color family while a simple central motif connects the room. If the layout changes later, replacing a few individual shapes is likely to be easier than attempting to transfer a wall-width graphic.

    Save the packaging, product name, backing paper and installation directions for any new set when the manufacturer recommends doing so. Label stored materials clearly. This will make it easier to verify future removal or reuse instructions instead of relying on memory.

    Make the decision before lifting an edge

    The safest answer is conditional: move an installed wall sticker only when its manufacturer supports reuse, the decal remains flexible and clean, and both painted surfaces meet the stated requirements. Removable alone is not enough. Paint cure, wall texture, contamination and distortion can all change the outcome.

    Before starting, locate the exact product instructions and inspect both walls in good light. If reuse is undocumented or the decal is already compromised, record the old layout and replace it with a fresh, surface-appropriate design. That approach gives you more control over the new room without relying on an adhesive layer that may no longer perform as intended.

    References

    1. ORACAL® 631 Exhibition Cal: ORAFOL Americas
    2. Support: ORAFOL Americas
    3. How to Clean and Maintain Freshly Painted Walls and Cabinets | Benjamin Moore
    4. ORACAL® 631
    5. Wallpaper Prep | Sherwin-Williams